How to turn off Windows Firewall
Disabling Windows Firewall is a great way to increase your computer’s performance and reduce the amount of data it is sending and receiving. However, it is important to note that disabling Windows Firewall can leave your computer vulnerable to malicious software, so it is important to make sure that you have other security measures in place before disabling the firewall.
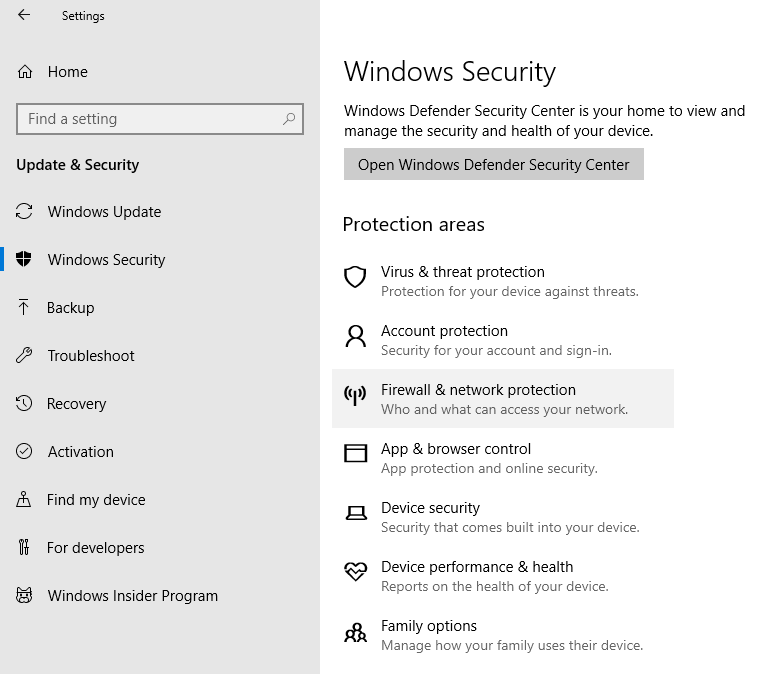
There are several ways to disable Windows Firewall. The first is to open the Start menu and select Settings. Then, click on Update & Security and select Windows Security. Then, click on Firewall & Network Protection. Here, you will see the option to turn off the Windows Firewall. Select the option to turn off Windows Firewall and then click OK.
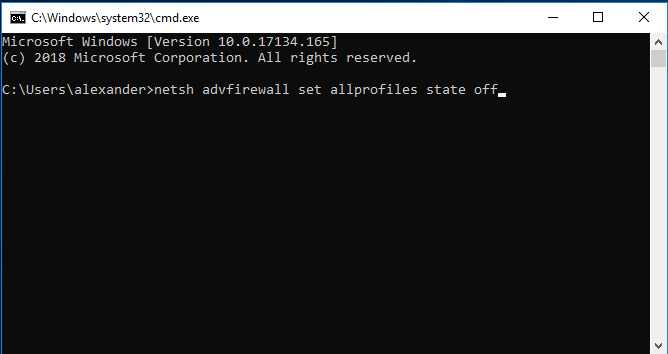
Alternatively, you can also disable Windows Firewall using the Command Prompt. To do this, open the Command Prompt and type in the command “netsh advfirewall set allprofiles state off” and press Enter. This will disable the Windows Firewall.
Finally, you can also disable Windows Firewall using the Group Policy Editor. To do this, open the Run command and type in “gpedit.msc” and press Enter. Then, navigate to Computer Configuration > Administrative Templates > Network > Network Connections > Windows Firewall. Here, you will see the option to turn off the Windows Firewall. Select the option to turn off Windows Firewall and then click OK.
If you need more help disabling Windows Firewall, you can always consult the Windows 10 help page for more information.